The system that Ferrari uses for belt tension is not unique, many vehicles employ the same system. The one difference is perhaps the cam timing adjustment; the vernier holes in the camshaft sprockets allow for much finer adjustment than most vehicles (although similar to the Alfa Romeo Nord engines that I am familiar with).
How it works : It is a simply belt/pulley system where the drive pulley on the bottom rotates the exhaust cam and then the intake cam on the DX side (reverse order for SX side), and then passes over a tensioner pulley which exerts a force creating tension on the belt. The tensioner, as the name suggests it keeps sufficient tension on the belt as it is subjected to load changes as well as compensating for thermal expansion and contraction of the system (as the engine heats up and cools down). There really is not significant “stretch” to the belt to do this (nor would you want it to as that would affect the timing!), so the external tensioner must do the job.
The tensioners, are the cylinderical devices (Item #22, Table 6 if you have access to the parts diagrams). They have a spring that pushes a small rod on the pivot assembly. They are highly damped, and do not allow the spring to react quickly at all; therefore maintaining a more constant tension on the belt, an preventing skipping a tooth under dynamic load changes. There is a convienent hole the body of the tensioner and also in the rod itself that allows you keep the rod in the retracted position while installing the belt. A piece of TIG welding rod works well for this.
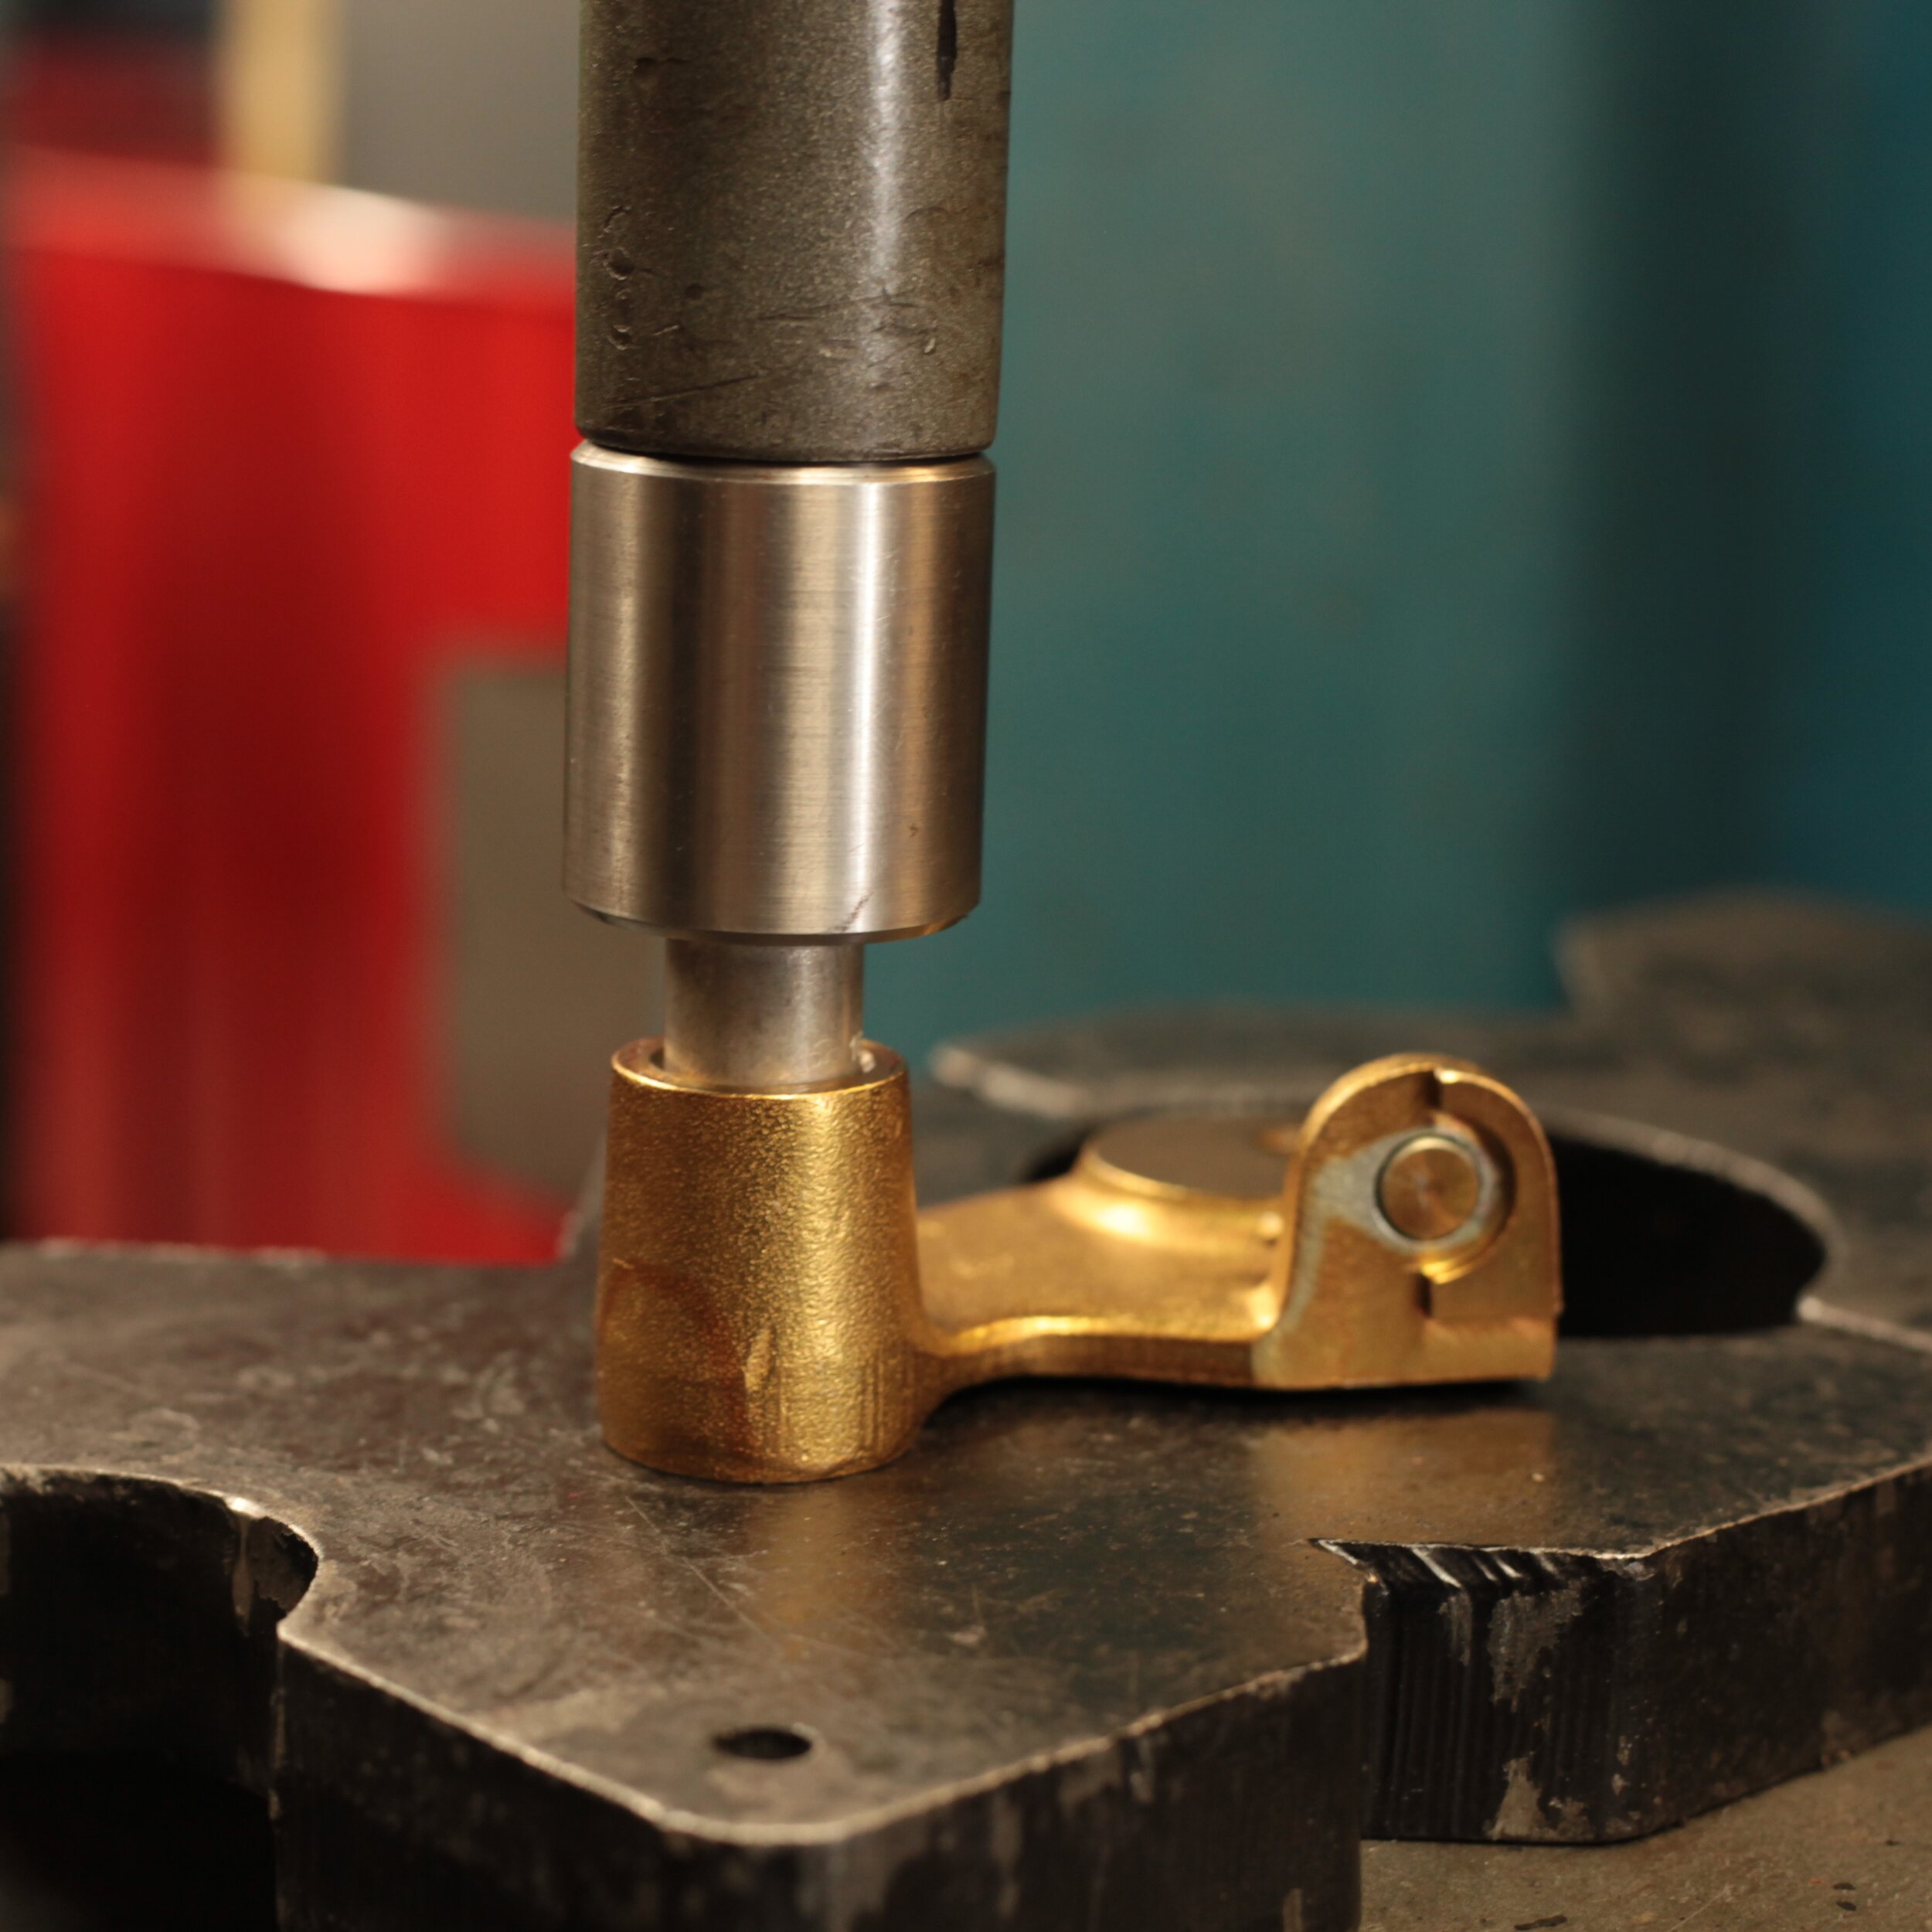
Changing belts is simple enough, it requires the removal of the front pulley in order to gain access to the two cam drive pulleys that are partially covered by the front pulley. In addition to the belts, the tensioner pulley is a typical replacement part, and in fact usually comes with the major service kit. An additional part that I would recommend to replace (not included in major service kit) is the pivot bushing. This is a self lubricating bushing (meaning there is no grease in it) with a teflon-like coating, which can wear if contamination enters to bearing surfaces. If the rotation of the pivot is inhibited, it can result in too much or too little tension on the belt, neither of which are a good situation. The parts are very inxpensive, and easy to remove / install.


Adjusting the tension on the belt is accomplished by adjusting the pivot position correctly so that it always remains in the useable range. This is done by ensuring there is a 2.5mm gap as shown (cold engine of course). The tension is really set by the spring force of the tensioner. Once this is complete the cam timing can begin (next section)
After the cam timing has been set, I recheck the belt tension again to be sure it is still correct. By this time I must have turned the engine over (by hand of course) 50 times, so I am sure everything as settled into it’s happy spot.
Below is the table of parts that I used that are associated with the timing belt change


